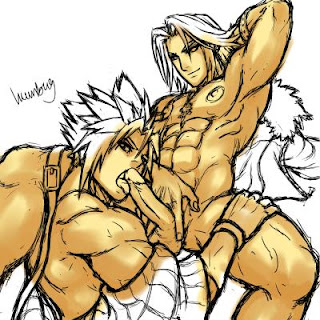
I had this Kingdom Hearts 2 Squall x Cloud picture that was lying around. So, to give it some use I decided to make a tutorial out of it while I colored it.
So here's what you will need;
1. A pen tablet. This is pretty essential if you want to color digitally. Well you can use a mouse but why kill yourself? :P The best brand in the world in my opinion is by Wacom.
2. OpenCanvas4 (OC). You can get it here.
3. A lineart. If you have a pencil sketch, just scan it in or you can always draw a digital sketch straight in OC. You can also search for some outlines on the net. Here's the lineart used for this tutorial if you want to try your hand at coloring.

Open your lineart in OC. Before you color, think about where your light is coming from.


You can put your light source anywhere you want!
After you've decided where you want it to be, it's time to put the base color on your muscle men. First set your lineart layer to "multiply".

In the Layers palette, go to Layer -> Create Multiply Layer. Put this new layer underneath your lineart layer.

Now choose the base color for skin and fill in all the areas of skin on your muscle men. I don't mind getting the colors bleed out of the line. If you're not like me, you can fill in the skin areas properly and then click on the Protect Layer Mask button. This will make your colors not bleed out of the skin area.


Next, choose a slightly darker shade for the skin and color the areas that are blocked by the light. Remember where your light source is!
After that, choose another darker shade for the skin. The more different shades you put, the more life like your muscle men would look like. Here, I've also added a different tint of skin tone to the nipples and Squall's tool :P

There you have it.
Stay tuned for Part 2 - Hair & Clothes
View the full post.


